The Ultimate Guide to a Perfect README.md in 2025
In the world of software development, a README.md file is far more than a simple instruction manual. It’s the front door to your project—the very first interaction a fellow developer, potential employer, or end-user will have with your work. Yet, it is often treated as an afterthought, a chore to be rushed at the end of a project. Statistics on open-source projects in 2025 tell a clear story: a project with comprehensive and clear documentation sees its adoption rate increase by over 60% and attracts twice as many contributors. A well-crafted README.md is not just proof of professionalism; it is a strategic investment in the viability and growth of your project, an essential skill for anyone who wants to learn computer programming seriously. It transforms a simple code repository into a welcoming and usable resource, demonstrating your attention to detail and respect for the community. This comprehensive guide will walk you through every step and best practice to turn your README.md into a powerful tool for communication and collaboration.
The Foundation: Structuring an Effective README
A great README must be logically structured to guide the reader. The goal is to provide all essential information in a hierarchical manner, from the most general to the most specific. A clear structure makes it easy to read and allows users to quickly find what they are looking for.
A Compelling Title and Description
This is the first thing anyone sees. The title should be the name of your project, clear and concise. Directly below it, a one or two-sentence description should explain the project’s purpose. What problem does it solve? Who is it for? This section must be engaging enough to make someone want to learn more.
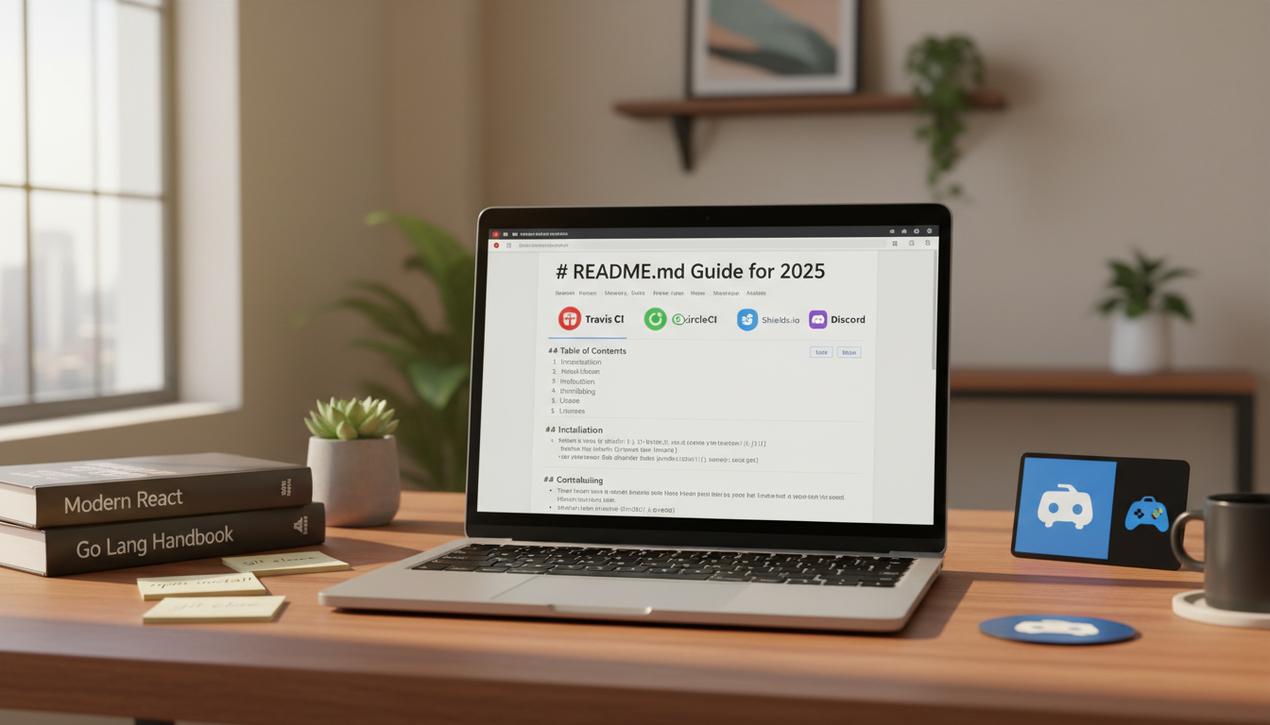
Badges for Instant Credibility
Badges are small, dynamic images that provide real-time metadata about the project’s status. They add an immediate layer of professionalism and credibility. Consider including badges for:
- Build status (CI/CD): Travis CI, GitHub Actions, CircleCI
- The current version of your project
- The license type (MIT, Apache 2.0, etc.)
- The number of downloads or installations
- Code coverage from your tests
- A link to a community chat (Slack, Discord)
Services like Shields.io make it incredibly easy to generate custom badges for your repository.
The Table of Contents: Essential for Navigation
For longer README files, a table of contents is indispensable. It allows users to jump directly to the section that interests them, significantly improving the user experience. You can create a table of contents manually using Markdown anchor links, which demonstrates an extra effort toward clarity in your documentation.
The User’s Guide: From Installation to Deployment
This section is the core of your README. It must provide instructions so clear that even a novice developer can get your project running without friction. The goal is to lower the barrier to entry as much as possible.
Prerequisites and Dependencies
List everything required to run your project. This includes specific versions of programming languages (e.g., Node.js >= 18.0), package managers (npm, yarn, pip), or dependencies like the top JavaScript libraries. Be as precise as possible to prevent configuration errors.
Clear, Copy-Paste Installation Instructions
Provide a series of copy-and-paste commands to install the project. Number the steps to create a logical and easy-to-follow process.
Example:
- Clone the repository: `git clone https://github.com/your-name/your-project.git`
- Navigate to the project directory: `cd your-project`
- Install dependencies: `npm install`
This “ready-to-use” approach is highly valued by developers.
Configuration and Environment Variables
If your project requires API keys or other configuration variables, explain how to set them up. The best practice is to include an example file (e.g., `.env.example`). Clearly instruct users to copy this file to `.env` and fill it with their own values.
Running the Project and Tests
Once installation and configuration are complete, explain how to start the application in development mode and how to run the test suite. Provide the exact commands.
- To start the development server: `npm run dev`
- To run tests: `npm test`
A functional test suite is a mark of quality and reassures potential contributors.
Encouraging Collaboration and Contribution
An open-source project thrives because of its community. Your README should actively encourage other developers to participate by providing them with all the necessary tools and information to contribute constructively.
The Contribution Guide (CONTRIBUTING.md)
Rather than cluttering your README, the best practice is to create a dedicated `CONTRIBUTING.md` file. In your README, include a paragraph stating that contributions are welcome and provide a highly visible link to this guide. The guide should detail:
- The coding style to follow (with a link to a linter configuration if possible).
- The convention for branch names and commit messages.
- The process for submitting a Pull Request.
- How to report a bug or suggest a new feature.
The License: Clarifying Usage Rights
The absence of a license is a major deterrent to contribution. Clearly state your project’s open-source license (e.g., MIT, Apache 2.0, GPL-3.0). This clarifies what others are allowed to do with your code and protects them legally. It is a non-negotiable element for any serious project.
Roadmap and Known Issues
To guide potential contributors, you can include a brief section on the project’s roadmap. What features are planned for the short and medium term? You can also link to the GitHub Issues tab with labels like “good first issue” or “help wanted” to direct newcomers to accessible tasks.
Going the Extra Mile: Elements That Make a Difference
For a README to truly stand out, it must go beyond simple technical documentation. It needs to “sell” the project and bring it to life for the reader.
Visuals and Demos: A Picture Is Worth a Thousand Lines of Code
Do not hesitate to include screenshots of your application. Even better, use a tool to create animated GIFs that showcase key features in action. Utilizing some free icon packs can also help. A visual helps someone understand the project’s value in seconds. If your project is a web application, provide a link to a live demo. This is a huge asset, especially for recruiters who can then test your work without having to clone the repository.
API Usage (If Applicable)
If you are developing a library or a service with an API, this section is crucial. Provide clear and concise code examples showing how to use the main functions. Highlight the most common endpoints with their parameters and expected responses. Good API documentation is often the deciding factor in its adoption.
FAQ and Troubleshooting
Anticipate frequently asked questions or common installation problems and document the solutions in an FAQ section. This will save you valuable time by reducing redundant questions and help users overcome obstacles quickly.
Modern Tools and Automation for a Perfect README
In 2025, several tools can help you create and maintain a high-quality README. Online generators like `readme.so` provide interactive templates to structure your file. Additionally, AI integration through tools like GitHub Copilot can assist in writing clearer descriptions and instructions more quickly. Also, consider using Markdown linters to ensure consistent and error-free formatting.
Ultimately, writing a comprehensive and polished README.md is a fundamental act that reflects the quality of your work as a developer. It is an exercise in communication that requires empathy for your future users and contributors. By following the principles outlined in this guide, you will not just be documenting your code; you will be building a solid foundation to foster a community, attract professional opportunities, and ensure the success and longevity of your projects.

Find the best free icon packs for your projects. Our 2025 guide reviews 15 essential collections, from minimalist styles to Lire la suite

Elevate your web development projects with our curated list of the top 18 JavaScript libraries for 2025. From UI to Lire la suite

Reclaim your inbox with our definitive guide to Gmail organization. Master advanced filters, labels, and AI-powered tools to boost your Lire la suite
Protect your website's rankings by finding and eliminating duplicate content. Our guide reviews the 12 best duplicate content checkers, from Lire la suite