15 Pro Tips to Reduce Image File Size in 2025

With ever-evolving SEO demands, including the rise of AI-driven search optimization, search engines constantly push webmasters to enhance site performance. A critical factor in this is loading speed. Today, a site that takes longer than three seconds to load fully is considered slow. Recent studies on user behavior show that a load time exceeding two seconds can increase a site’s bounce rate by nearly 50%. While many factors contribute to a fast website, image optimization is undeniably the most impactful starting point. Images often account for over 70% of a page’s total weight. Many believe simply reducing a photo’s dimensions is enough, but that’s only part of the story. Google considers not just an image’s weight but also its format for ranking purposes. To achieve perfect integration, you must find the optimal technique to reduce an image’s file size without degrading its visual quality or failing to meet search engine standards. This guide details 15 proven techniques to modify and shrink your images for peak web performance.
Why Reducing Image Size Is Critical for Your Website
Internet connections are faster than ever, but this shouldn’t be an excuse to skip the crucial process of image compression. As the web accelerates, user attention spans shrink. With the growing popularity of mobile and high-resolution Retina screens, users expect higher image quality than ever before. Before diving into the techniques, let’s understand the concrete benefits of optimizing your images.
1. Avoid High Bounce Rates
A webpage that loads at a snail’s pace results in a very high bounce rate. We know patience is not a virtue online; users will abandon a page if they can’t access its content quickly. You don’t want to lose potential customers or readers due to slow loading times.
2. Boost Your SEO Ranking
Search engines like Google factor page load speed into their ranking algorithms. Therefore, the lighter your images, the better your site’s performance score, leading to better positioning in search results. This is a key component of technical SEO.
3. Improve Visibility on All Devices
The trend in browsing is shifting heavily toward mobile devices, which have already surpassed desktop navigation. However, mobile network speeds (like 4G or 5G) are often slower than broadband or fiber optics. Using lighter images ensures your website loads quickly and efficiently on smartphones and tablets.
4. Reduce Server Space and Costs
The most direct benefit of image compression is reducing file size. This has significant advantages on the web. It allows webmasters to create image-rich sites, often using assets from the best free stock photo sites, without consuming excessive hosting space or bandwidth, which can lead to lower hosting costs.
5. Faster Download and Upload Speeds
Large, uncompressed photos can slow down loading on various electronic devices, including cameras, phones, and computers. For instance, some older devices have restrictions on reading data from drives and cannot display large images correctly. To this day, many web hosting services recommend or even require compressed images to build efficient websites that outperform competitors.
15 Essential Techniques to Optimize Your Images
Now that the “why” is clear, let’s explore the “how.” Here are 15 techniques, from basic to advanced, for reducing your photo sizes before they go live.
1. Choose the Right Format: JPEG
The JPEG format strikes a good balance between file size and quality for standard photographs. It offers high quality with effective compression. However, if you are using images with simple geometric shapes like logos, icons, or text, a vector format is far more suitable.
2. Use PNG for Transparency
The PNG format is particularly well-suited for images requiring high resolution and transparency, such as logos with no background. Unlike JPEG, it can compress an image without any loss of quality (lossless compression). PNG files are often very lightweight for simple graphics but can be heavy for complex photos.
3. Leverage Next-Gen Formats: WebP and AVIF
In 2025, modern formats like WebP and AVIF are essential. WebP, developed by Google, offers superior lossless and lossy compression compared to PNG and JPEG, resulting in significantly smaller file sizes at the same quality. AVIF is even more efficient, providing further size reductions. Most modern browsers now support both formats, and using them can drastically improve your loading times.
4. Employ Animated GIFs Sparingly
The GIF format is best if you want to add simple animations to your site. This format limits the image quality but loses no information during compression. Use GIFs for small images with a limited color palette. For more complex animations, consider using the MP4 video format, which is often lighter.
5. Embrace the Power of SVG for Vectors
While we are used to JPEG, PNG, or GIF, the SVG format is incredibly powerful for logos, icons, and illustrations. It is recommended because all browsers are compatible with SVG files, and the images can be resized automatically without quality loss. Google indexes SVGs just like other formats, and their file sizes are typically much smaller than raster equivalents.
6. Implement Lossy and Lossless Compression
You can use tools to strip hidden data from your files that don’t impact visual quality. It is crucial, however, to evaluate your compression rate, as over-compressing can degrade image quality. There are two types:
- Lossy compression: Some data is permanently lost. You can significantly reduce the file size, but the quality will be degraded. This is ideal for JPEGs.
- Lossless compression: Reduces file size without any quality loss. It’s suitable for PNGs and graphics where every detail matters.
7. Utilize a Content Delivery Network (CDN)
A CDN stores copies of your images on servers around the world. When a user visits your site, images are served from the server closest to them, dramatically reducing latency and speeding up load times. Many CDNs also offer automatic image optimization features, converting images to WebP and resizing them on the fly.
8. Implement Lazy Loading
Lazy loading is a technique that defers the loading of off-screen images until the user scrolls down to them. This means the initial page load is much faster because the browser only loads the images visible in the viewport. Modern WordPress and many web frameworks have lazy loading built-in.
9. Use Responsive Images with `srcset`
Web pages are viewed on multiple screen sizes. Instead of serving a huge desktop image to a mobile user, use the `srcset` attribute in your `` tag. This allows you to specify different image files for different screen resolutions, ensuring each device downloads only the size it needs.
10. Leverage CSS3 Effects
CSS effects and animations like shadows, gradients, and rounded corners can create resolution-independent assets that look sharp on any screen. While this technique generates more CSS files, it can improve loading speed by reducing the number of HTTP requests for small decorative images.
11. Use Web Fonts Instead of Text in Images
Encoding text within an image is bad for SEO and user experience. Users cannot select, copy, or scale the text. By using web fonts, you can find beautiful typefaces while keeping the text accessible, editable, and incredibly lightweight.
12. Strip Unnecessary Metadata
Did you know many image files contain a lot of useless data? This can include geographic information, camera details, and software versions. There are dedicated tools to safely remove this Exif data without affecting the image itself, shaving off valuable kilobytes from each file.
13. Use “Save for Web” Features
Image editing software like Adobe Photoshop has built-in features to optimize your images for the web. When saving your file, the “Save for Web” option allows you to preview the quality-to-size ratio and reduce the file size while preserving as much visual quality as possible.
14. Reduce Image Dimensions
A simple but often overlooked step is to resize your images to the exact dimensions they will be displayed at. There is no need to upload a 4000-pixel-wide image if it will only be shown in a 800-pixel-wide container. Use any image editor to change the file’s dimensions before uploading.
15. Combine Images into CSS Sprites
Using CSS sprites allows you to combine several small images (like icons) into a single file. This technique increases loading speed by reducing the number of HTTP requests the browser has to make. This technique, however, requires CSS knowledge, though using one of the top CSS frameworks for projects can greatly simplify implementation.
Our Top Tip for Reducing Image Weight
You are now equipped to format all your images to enhance your website’s performance. Consider investing in tools that can automate this process, ensuring all your images are consistently optimized. A fast, efficient website is no longer a luxury—it’s a necessity for success in 2025. By implementing these techniques, you’ll provide a better user experience, improve your SEO, and stay ahead of the competition.

Master your digital strategy with the best website traffic analysis tools. Our 2025 guide compares 9 essential platforms to understand Lire la suite
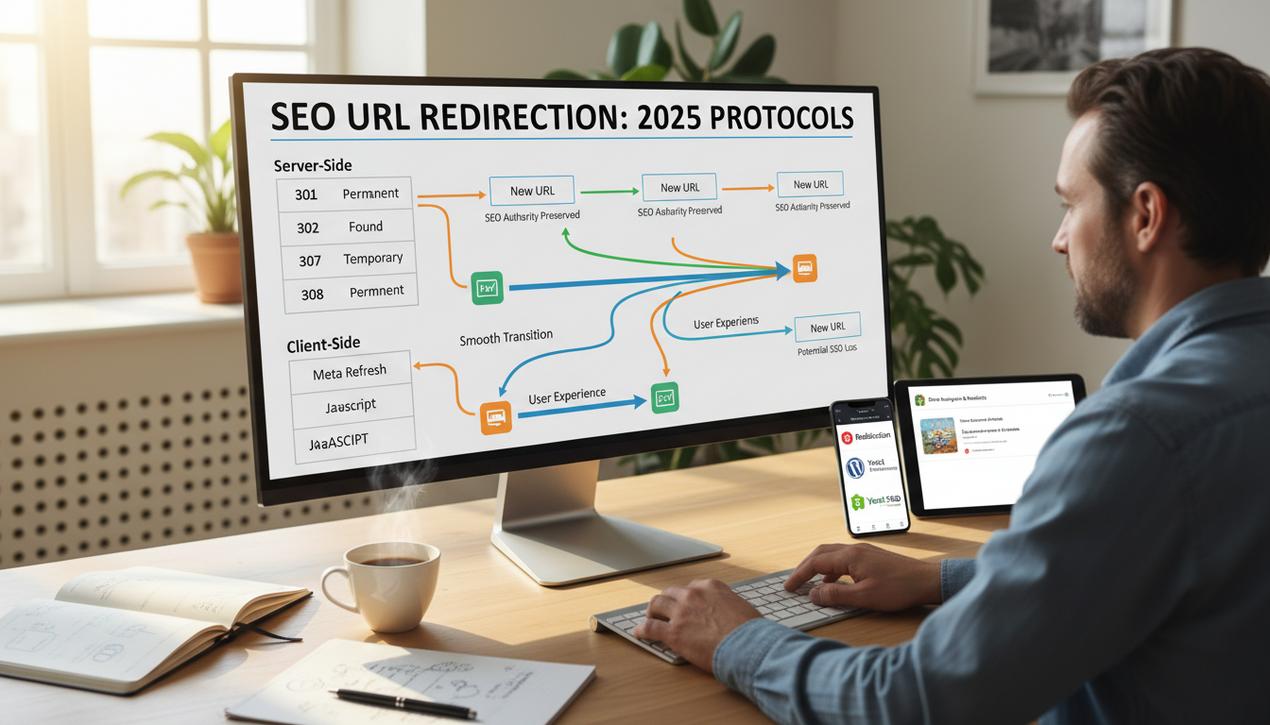
Mastering URL redirects is essential for SEO. This guide covers redirect types (301, 302), implementation methods, and common mistakes to Lire la suite

A solid website site structure is crucial for SEO and user experience. Follow our complete guide to build an effective Lire la suite

Google's new user-triggered fetcher, Google-NotebookLM, is here. This AI-driven agent retrieves specific content, offering a new qualitative engagement signal for Lire la suite