Top 8 Arduino Projects for Beginners in 2025
The Do It Yourself (DIY) electronics scene has exploded in recent years, transforming a field once reserved for experts into an accessible and thrilling hobby. The global microcontroller market, the heart of this revolution, is projected to surpass $30 billion by 2025, a surge driven by the immense popularity of connected devices and automation. At the epicenter of this universe is Arduino, a platform that has single-handedly democratized electronic creation. What once required deep engineering knowledge is now within reach of everyone—from students and artists to curious tinkerers. Thanks to its affordable boards and an incredibly active global community, building your own interactive objects has become almost child’s play. Far from being a simple gadget, Arduino is a powerful learning and prototyping tool that opens the door to programming, robotics, and the Internet of Things (IoT). This guide is designed to walk you through your first steps, presenting stimulating and educational projects to get you started on the right foot.
What Exactly Is Arduino?
To a newcomer, the word “Arduino” can seem ambiguous. In reality, it refers to a complete ecosystem that has revolutionized electronic prototyping. Understanding its different facets is the first step to unlocking its massive potential.
More Than Just a Board: A Complete Ecosystem
Arduino isn’t a single product but a combination of three fundamental pillars. First, there is the hardware: a range of open-source microcontroller boards. The most famous is the Arduino Uno, but dozens of others exist, each tailored to specific needs (size, power, connectivity). Second, there is the software: the Arduino IDE (Integrated Development Environment), a free, cross-platform application used to write code and upload it to the board. Finally, and perhaps most importantly, there is the community. Millions of users worldwide share their projects, code, and advice on forums, blogs, and video platforms, creating a vast and accessible knowledge base for everyone.
Why Arduino Is Ideal for Beginners
Arduino’s meteoric success is built on its philosophy of accessibility. Created in 2005 in Italy for design students, the platform was engineered for simplicity. Its programming language, based on C++, is simplified to make learning easier. The boards are inexpensive, which lowers the barrier to entry and reduces the fear of making costly mistakes. The open-source nature of the hardware means anyone can manufacture and modify the boards, leading to a proliferation of “clones” and even more affordable compatible options. This accessibility, combined with the wealth of available resources, makes it the perfect entry point into the world of electronics and coding.
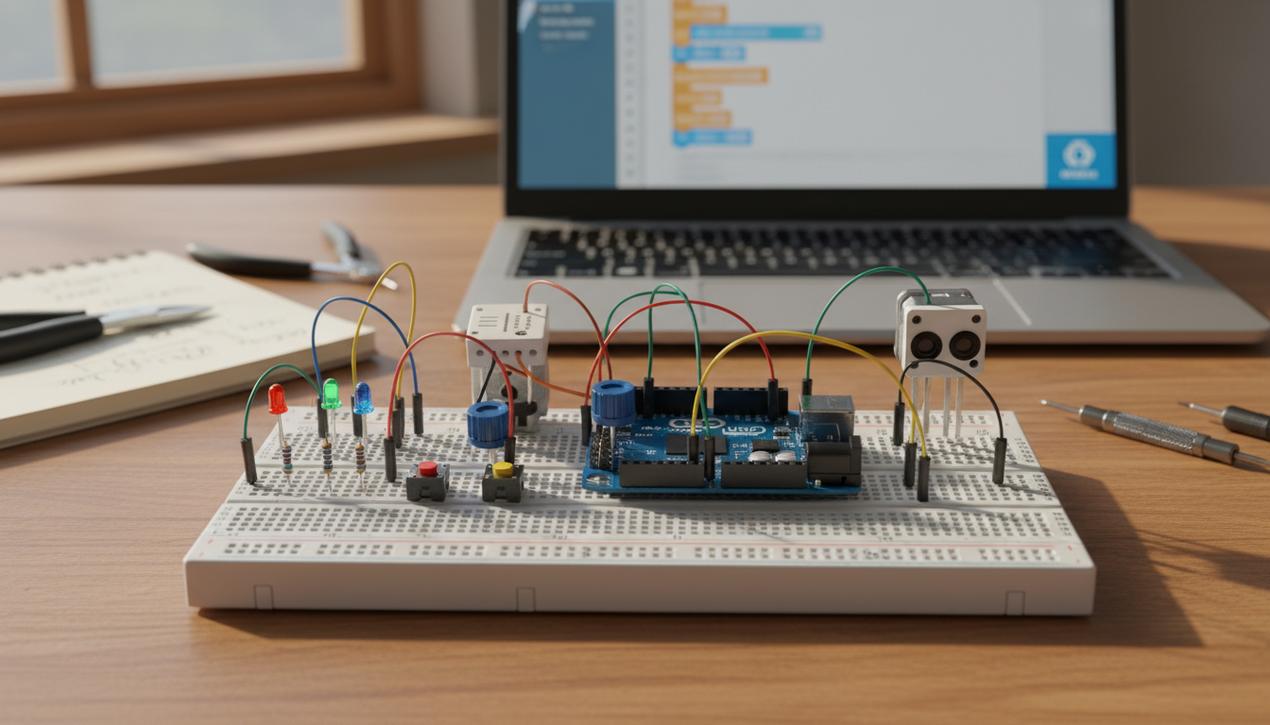
Getting Started: Essential Gear for Your Projects
Diving into the world of Arduino can seem daunting with the multitude of boards and components available. Fortunately, getting started requires only a minimal investment and a few basic items.
Choosing Your First Arduino Board
For a beginner, the choice is straightforward: the Arduino Uno R3 is the absolute standard. It is the most documented and widely used board, and you will find more tutorials for it than any other. Its size is perfect for use with a breadboard, and it has enough input and output pins for the vast majority of beginner projects. Other boards like the Nano (smaller) or the Mega (more powerful) are great options for later, but it’s best to master the basics with the Uno first.
The Must-Have Components in a Starter Kit
Instead of buying components one by one, purchasing a starter kit is the most economical and practical solution. A good kit should include at least the following:
- A Breadboard: To build your circuits without any soldering.
- Jumper Wires: To connect components to each other and to the Arduino board.
- LEDs of various colors: The fundamental component for getting visual feedback from your program.
- Resistors: Essential for protecting your components, especially LEDs, from excessive current.
- A Potentiometer: To provide a variable analog input.
- Push-buttons: For creating simple user interactions.
- A Temperature and Humidity Sensor (DHT11/DHT22): To gather environmental data.
- A Servo Motor: To create controlled, precise movement.
These few items will allow you to complete dozens of different projects and gain a solid understanding of the fundamental principles.
8 Easy Arduino Projects to Get You Started in 2025
Theory is good, but practice is better! Here is a selection of 8 progressive projects, perfect for applying basic concepts and achieving gratifying results quickly.
1. Blinking an LED (The “Hello, World!” of Electronics)
This is the very first project every beginner should tackle. It teaches the most fundamental concept: how to control a digital output. The code is simple, the circuit is basic, but the satisfaction of seeing that small light blink on your command is immense. It’s the true starting point of your Arduino journey.
2. Pedestrian Traffic Light
This project takes it a step further by managing multiple LEDs (red, yellow, green) and a push-button. It will teach you how to manage timed sequences (the delays between color changes) and how to read the state of a digital input (the button). It’s an excellent introduction to creating simple state machines.
3. Light Theremin
Here, you’ll use a photoresistor (a sensor that reacts to light) to control the frequency of a buzzer. By moving your hand closer or further away, you change the amount of light the sensor receives, which in turn changes the pitch of the sound produced. This project is a fun introduction to analog inputs and sound generation.
4. Indoor Weather Station
Using a DHT11 sensor and an LCD screen, you can build a mini-station that displays the ambient temperature and humidity in real time. This project is highly rewarding because it has a practical use. It will familiarize you with using code libraries (to manage the screen and sensor), an essential skill for more complex projects.
5. Parking Sensor
With an ultrasonic sensor, this setup measures the distance between the sensor and an obstacle. A buzzer then emits beeps that get faster as the obstacle gets closer, just like a car’s parking assist system. It’s a great project for understanding how sensors can interact with the physical world to provide useful feedback.
6. Music-Reactive LED Strip
Using just a few components, you can turn any room into a mini disco. In this project, a sound sensor measures the intensity of music and sends that information to the Arduino. The Arduino then controls an RGB LED strip, making it flash different colors in sync with the beat. It’s a visually impressive project that introduces sound sensing and more advanced visual outputs.
7. Servo Motor Controlled by a Potentiometer
This project perfectly illustrates the link between an analog input and a mechanical output. By turning the knob of a potentiometer, you can precisely control the angle of a servo motor. This is the foundation for countless robotics projects, such as creating a small robotic arm or panning a camera.
8. Automated Plant Watering System
A very popular project that touches on home automation. By placing a soil moisture sensor in a plant pot, the Arduino can read how dry the soil is. If the moisture level drops below a set threshold, it activates a small water pump for a few seconds to water the plant. It’s a perfect example of an autonomous system, which can later be expanded if you learn how to create a mobile app to control it.
Getting started with Arduino opens up a world of infinite creative possibilities. This platform is much more than a simple technical tool; it is a gateway to understanding the interactive digital world that surrounds us. By starting with simple projects and progressing at your own pace, you will not only develop skills in programming and electronics but also cultivate a new way of thinking focused on problem-solving and innovation. Every blinking LED and every spinning motor is a small victory that fuels curiosity and the desire to learn more. So, don’t hesitate: pick a project, plug in your board, and start creating.

Find the best appointment scheduling software in our 2025 guide. We compare top tools like Calendly and Zcal to help Lire la suite
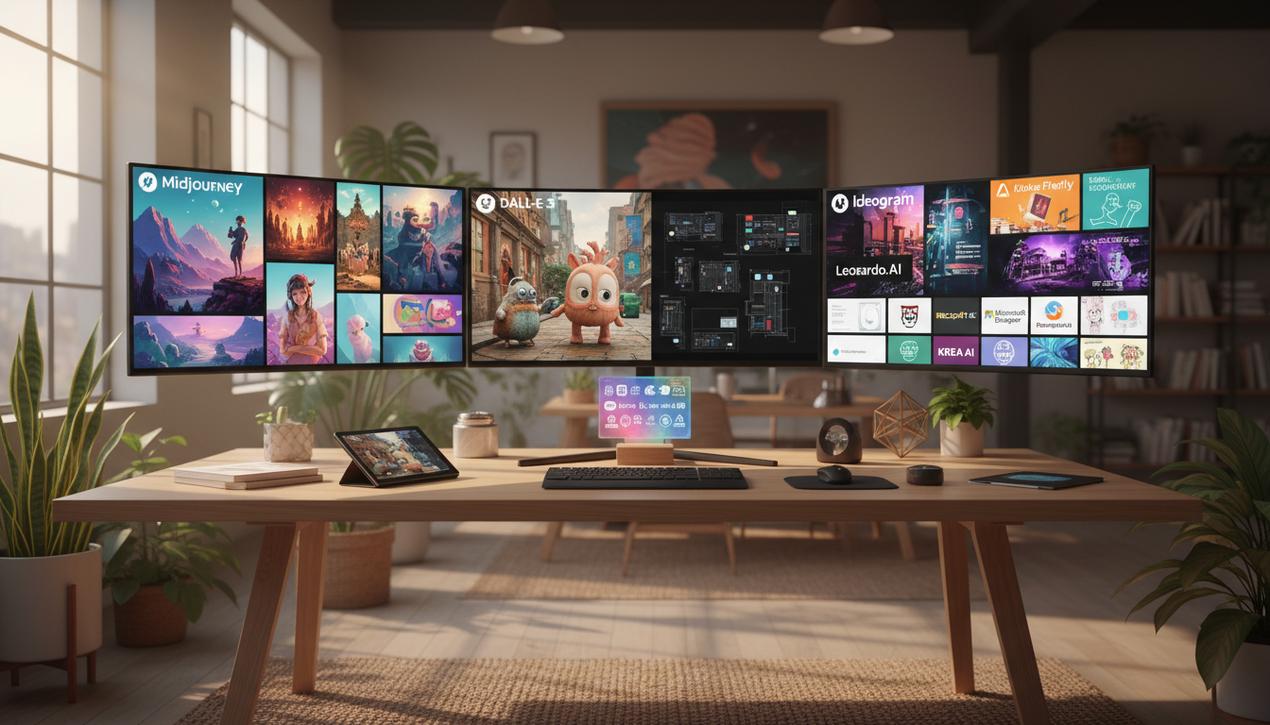
Our 2025 guide analyzes the best AI image generators on the market. From Midjourney to DALL-E 3, find the perfect Lire la suite

Apprenez à créer des métadonnées SEO qui attirent le trafic et améliorent la visibilité de vos contenus en ligne.
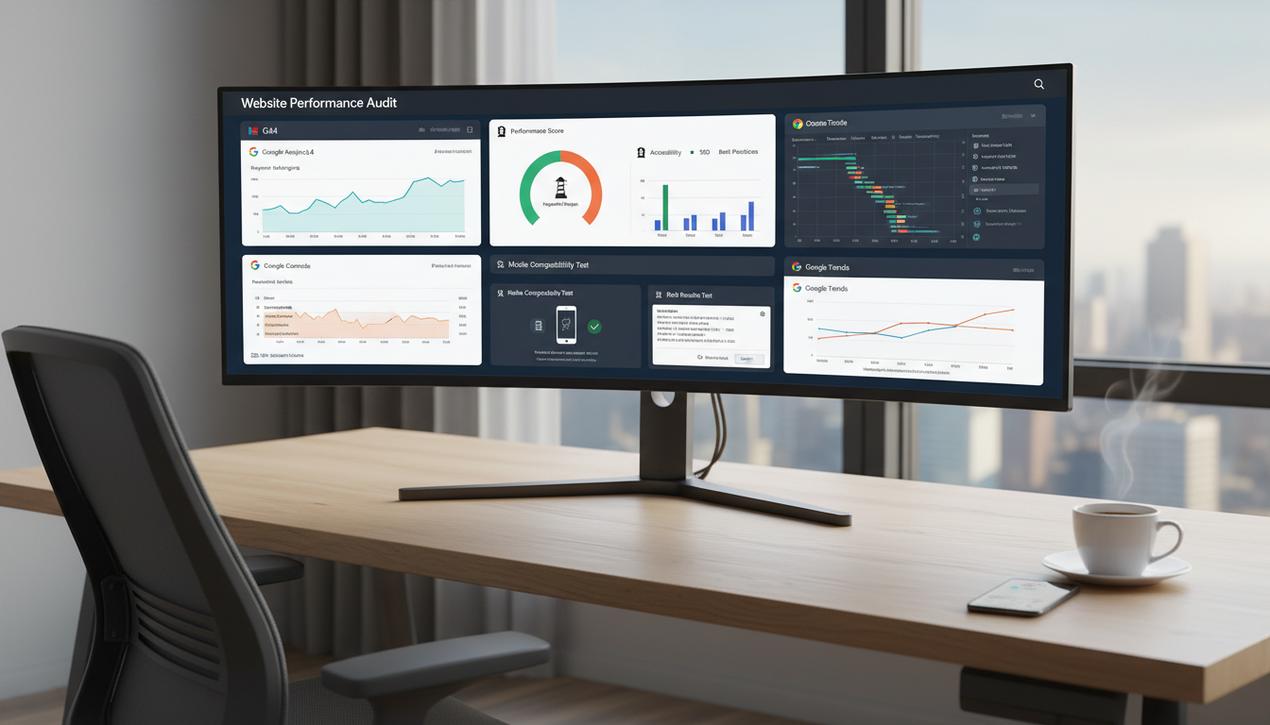
Audit your website's performance and SEO with our complete 2025 guide. We break down 9 essential Google tools to help Lire la suite