Publish an App on the Play Store: A Complete 2025 Guide

You have developed an innovative Android app and are ready to introduce it to the world. Publishing on the Google Play Store is a critical step that can transform your project into a global success. With over 2.6 million apps available and a market expected to reach nearly 300 billion downloads in 2025, the Play Store is an essential platform. It provides access to over 70% of smartphone users worldwide. However, navigating the requirements of the Google Play Console can seem daunting. From preparing graphic assets and technical configurations to monetization strategies, every detail matters. This detailed guide will walk you through 12 key steps, updated with the latest trends and best practices for 2025, to ensure a successful and optimized launch for your application.
Essential Prerequisites Before Publication
Before you even open the Google Play Console, meticulous preparation is essential. This preliminary phase not only ensures a smooth submission process but also determines your app’s potential for success once it’s live. It’s not just about having a ready-to-upload file; it’s about building a solid foundation for your product, a process that starts with knowing how to learn computer programming.
1. Finalize and Rigorously Test Your Application
Your app must be stable, high-performing, and free of major bugs. Before submitting, ensure it targets the latest Android API level required by Google (for 2025, the target is typically Android 15, API level 35). Conduct thorough testing sessions across a variety of devices and Android versions to guarantee a consistent user experience. A buggy launch can lead to negative reviews from day one, which are extremely difficult to recover from later.
2. Create a Google Play Developer Account
This is the mandatory first step. Creating a developer account on Google Play is your gateway to the platform. It requires a one-time payment of $25. After filling out the form with your identification information, allow up to 48 hours for your account to be approved. This account will give you access to the Google Play Console, your centralized dashboard for managing all your applications.
3. Set Up a Payments Profile (If Necessary)
If your application includes in-app purchases, subscriptions, or is a paid app, you must link your developer account to a payments profile through the Google Payments Center. This step is crucial for managing your revenue and analyzing your sales. Navigate to the “Reports > Financial reports” section of your console and follow the instructions to set up a merchant account by providing your business information.
Optimizing Your Store Listing (ASO)
App Store Optimization (ASO) is the SEO equivalent for mobile apps. A well-optimized store listing is your most powerful tool for driving organic downloads. It serves as your app’s digital storefront.
4. Write Compelling and Strategic Text
Your store listing consists of several strategic text fields:
- Title (50 characters): It should be clear, memorable, and ideally include your primary keyword.
- Short Description (80 characters): This is your elevator pitch. It appears directly in search results and must entice users to click, much like a high-converting call-to-action.
- Full Description (4000 characters): Detail your app’s features, benefits, and story here. Structure the text with paragraphs and bullet points for readability. Naturally integrate your keywords to improve visibility in store searches.
5. Create Attractive Graphic Assets
Visuals play a decisive role in a user’s decision to download. You will need:
- App Icon (512×512 pixels, PNG): It must be unique and instantly recognizable.
- Feature Graphic (1024×500 pixels): This is the banner displayed at the top of your listing. It should capture the essence of your app.
- Screenshots: You can add up to 8. They should showcase key features and the quality of your user interface.
- Promotional Video (Optional but highly recommended): A short video (30-60 seconds) can significantly increase conversion rates.
6. Define Categorization and Privacy Policy
Choose the most relevant category for your app. A good choice helps Google’s algorithm recommend it to the right users. Furthermore, if your app collects personal data, a privacy policy is mandatory. You must provide a link to a webpage hosting this policy, clearly explaining what data is collected and how it is used.
The Technical Submission and Testing Process
Once your store listing is ready, it’s time to move on to the technical part of the launch in the Google Play Console.
7. Create Your Application in the Console
On the dashboard, click “Create app,” choose a default language, and enter your application’s title. You will then gain access to all the menus needed to finalize your submission.
8. Upload Your Android App Bundle (AAB)
Historically, developers uploaded an APK file. Today, Google mandates the Android App Bundle (AAB) format. This format allows Google to generate and serve optimized APKs for each user’s device configuration, significantly reducing the download size. Go to “Release,” then “Production,” to create a new release and upload your signed AAB file.
9. Implement a Comprehensive Testing Strategy
Never publish directly to production. The Play Console offers several testing tracks:
- Internal Testing: For up to 100 testers you invite via email. Ideal for quick quality assurance checks.
- Closed Testing: For a larger group of beta users who access the app through a private link.
- Open Testing: Your app appears as an “early access” app on the Play Store. Anyone can become a tester and send you private feedback.
Using these tracks allows you to gather valuable feedback and fix the last bugs before the official launch.
The Final Phase: Rating, Pricing, and Deployment
The final steps involve finalizing the regulatory and commercial aspects of your application.
10. Complete the Content Rating Questionnaire
This is a mandatory step. You must answer a questionnaire about the nature of your content (e.g., violence, mature themes). Your answers will determine the age rating (IARC) of your app in different regions around the world. Be honest, as providing inaccurate information can lead to your app’s rejection or removal.
11. Define Your Business Model and Distribution
Decide whether your app will be free or paid. Be careful: an app published as free can never be changed to paid later (though the reverse is possible). You can, however, integrate in-app purchases or subscriptions. You will also need to select the countries where your app will be available. Target regions that are relevant to your app’s language and your target market.
12. Launch the Rollout to Production
After reviewing all the information, return to the “Release” > “Production” section. Click “Review release” and then “Start rollout to production.” Your app is now submitted for Google’s review. The approval time can range from a few hours to several days, especially for a first-time launch.
Publishing an app on the Google Play Store in 2025 is a process that is far more strategic than it is purely technical. It requires combining a quality product, a polished marketing presentation (ASO), and a well-thought-out launch strategy. By following these steps and understanding how to create buzz for a launch, you will maximize your chances of standing out in a competitive ecosystem and turning your idea into a successful application.
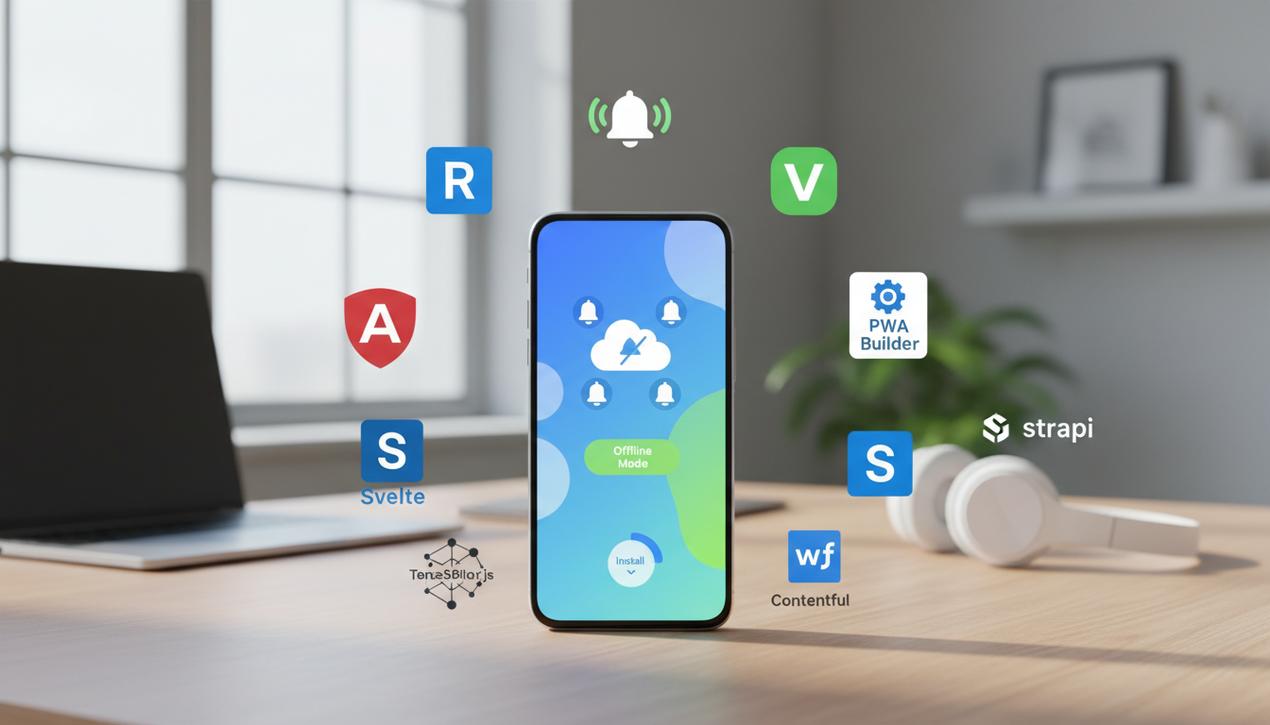
Considering PWA development? This guide covers everything from core concepts and benefits to the essential tools and future trends, helping Lire la suite
Our complete guide details the 13 essential steps to create a mobile app in 2025, from initial idea validation and Lire la suite
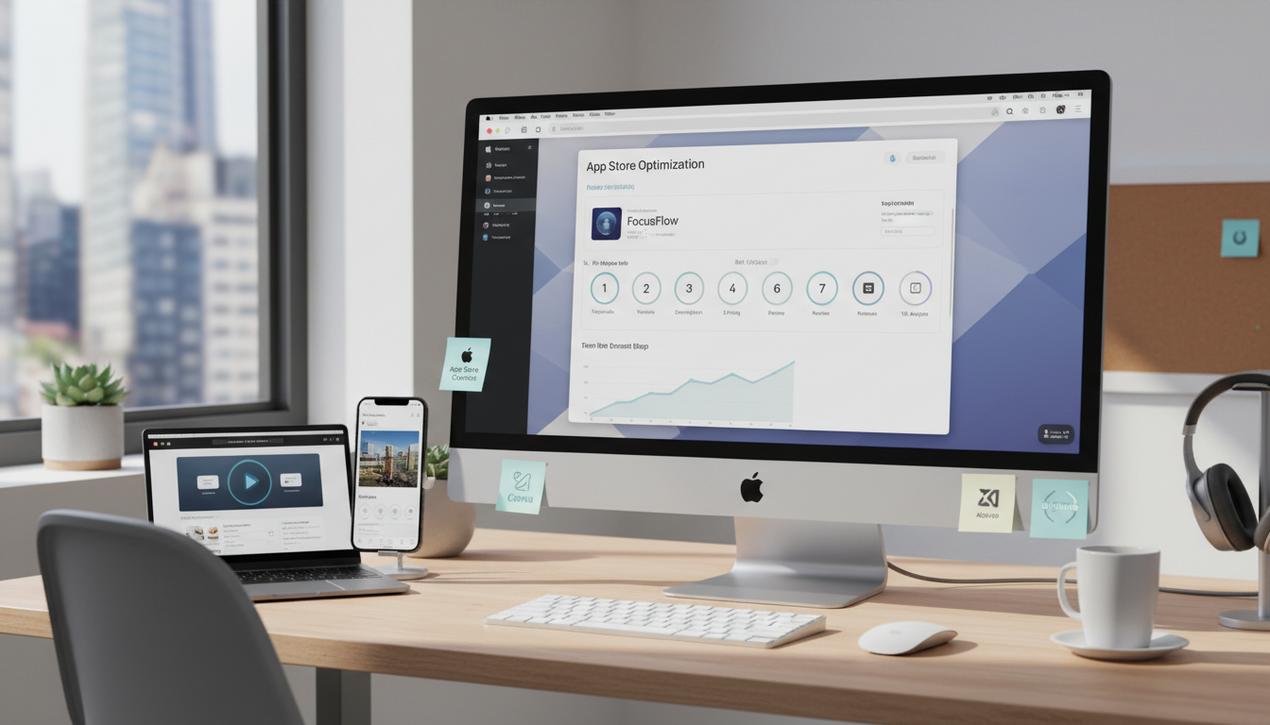
Learn how to publish your app on the App Store with our comprehensive guide. We cover every step from account Lire la suite
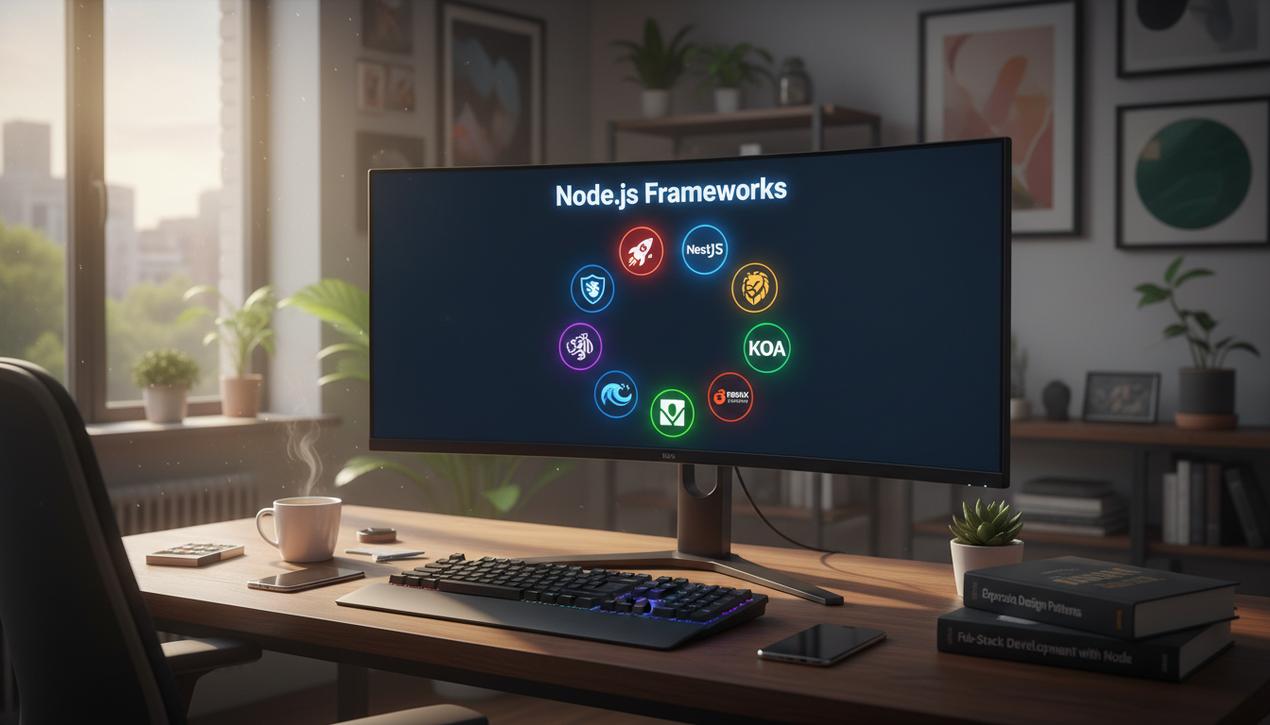
Choosing the right Node.js framework is crucial. This guide compares top options like Express, NestJS, and Next.js to help you Lire la suite