How to Publish an App on the Apple App Store: A 2025 Guide
The Apple App Store is not just an application marketplace; it’s a major economic ecosystem. In 2025, developer earnings have surpassed a trillion dollars since its launch, with consumers spending hundreds of billions in the last year alone. With over 1.8 million apps available and an audience known for its high purchasing power, publishing your app on the App Store presents an immense opportunity. It provides access to a global market of engaged users, a chance to monetize your work, strengthen your brand, or acquire new customers. However, the path to “Ready for Sale” is demanding. Apple maintains a high standard of quality, with a rigorous review process that can intimidate newcomers. This complete and updated guide details the 10 essential steps, from administrative prerequisites to post-launch strategies, to successfully navigate the publication process and maximize your chances of success.
Step 1: Essential Prerequisites Before You Begin
Before you even think about submission, a thorough administrative and technical preparation is required. Skipping this phase is a guarantee of hitting roadblocks later on.
Join the Apple Developer Program
Access to App Store Connect, the platform for managing your applications, is contingent on membership in the Apple Developer Program. The cost is $99 per year. For large organizations wishing to distribute apps internally, an Apple Developer Enterprise Program is available for $299 per year.
During enrollment, you will choose between two main account types:
- Individual: Perfect for freelancers or very small businesses. The app will be published under your personal name.
- Organization: To publish under your company’s name. This option is more professional but requires obtaining a D-U-N-S Number (Data Universal Numbering System), a process that can take several weeks. Be sure to apply for this well in advance.
Account activation can take up to 48 hours after payment is processed.
Have a Finalized and Tested Application
This guide assumes your app is already developed and fully functional. Ensure that it is stable, free of major bugs, and adheres to Apple’s fundamental design and user experience principles, known as the Human Interface Guidelines. Having a clear privacy policy written and ready is also a non-negotiable requirement.
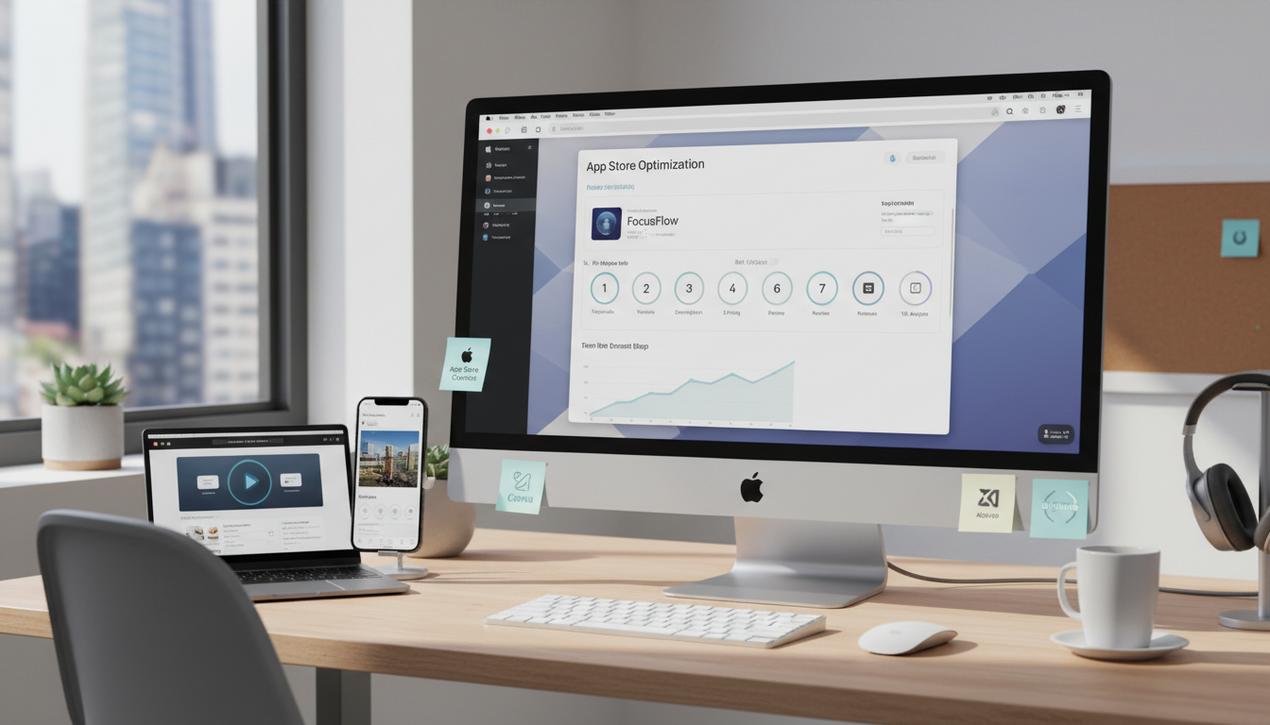
Step 2: Prepare Your Product Page for App Store Optimization (ASO)
Your product page is your digital storefront. Optimizing it (App Store Optimization or ASO) is as crucial for an app as SEO is for a website. This is what will convince a user to download your app over a competitor’s.
Craft a Punchy Name and Subtitle
Your app’s name is limited to 30 characters. It must be unique, memorable, and, if possible, contain your primary keyword. The subtitle, also 30 characters, provides additional space to describe the app’s main function using a secondary keyword.
Design an Engaging Icon and Screenshots
The icon is the first visual contact. It should be simple, recognizable, and meet the required size of 1024×1024 pixels. You can upload up to 10 screenshots. The first three are the most important as they are visible without scrolling. Use them to highlight the key benefits of your app, not just its features.
Leverage App Previews: The Video That Converts
A major trend in ASO is the use of App Previews—short videos (15-30 seconds) that showcase the app in action. A well-produced video can increase conversion rates by over 25%. It should be dynamic and demonstrate the core of the user experience within the first few seconds.
Write a Strategic Description and Keywords
The description details your app’s features and benefits. The first sentence is critical as it appears before the “more” link. The keyword field, unique to the App Store and invisible to users, is limited to 100 characters. Use this space to list relevant keywords separated by commas, without spaces, to maximize your reach.
Step 3: Technical Configuration in App Store Connect
This is the most technical part of the process. It involves creating the digital “paperwork” that links your app to your developer account.
Create a Bundle ID
The Bundle ID is a unique identifier for your application. It is typically formatted using reverse domain name notation (e.g., com.yourcompany.yourapp). Once created, this ID cannot be changed, so choose it carefully.
Generate Certificates and Profiles
You will need to generate several items from your developer account:
- Signing Certificate: This cryptographically proves that the app was created by you.
- Provisioning Profile: This ties the certificate and the Bundle ID together, authorizing your app to be installed on test devices or submitted to the App Store.
These files are essential for compiling the final build of your application (the .ipa file).
Step 4: Conduct Rigorous Testing with TestFlight
Before public submission, use TestFlight, Apple’s free beta testing tool, to distribute your app to testers (up to 10,000 external users). This step is crucial for:
- Identifying Bugs: Collect crash reports and detailed technical feedback.
- Improving User Experience: Get opinions on usability, design, and the relevance of features.
- Validating Performance: Test on a variety of devices (different iPhone and iPad models) and iOS versions to ensure seamless compatibility.
A thorough testing phase significantly reduces the risk of rejection by Apple’s review team.
Step 5: Submit the Application for Review
This is the final step. In App Store Connect, create a new app version and fill in all the product page information you prepared in Step 2. You will also need to provide information specifically for the review team:
- Contact Information: Who to contact if they encounter an issue.
- Test Credentials: If your app requires a login, provide a demo account.
- Notes for the Reviewer: Explain any complex features, non-obvious functionalities, or in-app purchases.
Once everything is complete, you can click “Submit for Review.” Your app’s status will change to “Waiting for Review.”
Step 6: Navigate the Review Process and Avoid Common Rejections
Review times can vary but often fall between 24 and 48 hours. However, a significant number of apps are rejected on their first submission. The most common reasons for rejection in 2025 include:
- Bugs and Crashes: This is the number one reason. An unstable app will be rejected immediately under Guideline 2.1.
- Inappropriate Content: Or failure to properly moderate user-generated content.
- Missing Information: An incomplete product page, broken support links, or an absent privacy policy.
- Confusing User Interface: Failure to comply with Apple’s Human Interface Guidelines.
- Opaque Business Model: Lack of clarity regarding in-app purchases or subscriptions.
If your app is rejected, Apple will provide an explanation. Read it carefully, fix the issue, and resubmit a new build.
Step 7: Prepare and Execute Your Launch
Once you receive approval, the status changes to “Pending Developer Release.” You have full control over when to publish. You can release it manually or schedule a specific date. A successful launch is a prepared launch. Develop your communication plan in advance: social media announcements, press releases, influencer outreach, etc. The goal is to generate a surge of downloads in the first few days to gain visibility within the App Store’s algorithm.
Publishing an app on the Apple App Store is a marathon, not a sprint. Every step, from the administrative setup to the meticulous optimization of your product page, plays a decisive role in your success. Technical diligence, a deep understanding of ASO, and an exhaustive testing phase are your best assets for clearing Apple’s review process. But the work doesn’t stop once the app is live. Long-term success will depend on your ability to listen to user feedback, analyze performance data, and continuously evolve your product. By following this guide, you will be well-equipped to turn your app project into a visible and profitable success story.

Master the essential HTML tags for SEO to improve your ranking. This guide covers everything from title tags and meta Lire la suite

Apprenez à créer des métadonnées SEO qui attirent le trafic et améliorent la visibilité de vos contenus en ligne.
Our complete guide details the 13 essential steps to create a mobile app in 2025, from initial idea validation and Lire la suite

Master the 22 essential steps to successfully launch a mobile app in 2025. Our guide covers everything from strategy and Lire la suite