A Complete Guide to Filming with a Smartphone in 2025
In the age of digital content, video reigns supreme. In 2025, video content accounts for over 80% of all global internet traffic, and a rapidly growing portion of this content is not just watched but created on smartphones. Far from being simple gadgets, our phones have become pocket-sized production studios, capable of shooting in 8K, stabilizing footage with AI, and editing complex sequences on the fly. Whether you’re an aspiring content creator for TikTok hoping to make money on the platform, an entrepreneur looking to create product demos, or simply a hobbyist, making a video with a smartphone and achieving a professional result has never been more accessible. Video quality is a decisive factor for engagement and ranking on all platforms. However, technology alone isn’t enough. To turn your smartphone into a true cinema camera, it’s crucial to master a set of techniques and best practices. This complete guide will walk you through every step, from preparation to post-production, to create powerful videos with the device you already have in your pocket.
Preparation: 50% of a Successful Video
The most common mistake is to start filming without any preparation. A successful shoot is a well-planned one. By dedicating time to this preliminary phase, you ensure a smooth production, a clear message, and a much higher-quality final product. This is the step that separates amateur content from professional content.
1. Define Your Goal and Key Message
Before you even touch your phone, ask yourself the fundamental question: why am I making this video? What is its purpose? Is it to educate, entertain, sell, or inform? Who is your target audience? A clear message and a specific goal will guide all your decisions, from the tone of your voice to the style of your editing. Write down the main takeaway you want your viewer to remember in one or two sentences.
2. Write a Script or a Detailed Outline
Even for a short video, don’t rely solely on improvisation. A script (if you’re speaking to the camera) or a shot-by-shot plan is essential. This allows you to structure your ideas, avoid hesitation, and ensure all important points are covered. A simple bulleted list is often enough to get started.
3. Choose the Right Environment and Lighting
Light is the videographer’s paintbrush. Poor lighting can ruin a video shot on the best smartphone. For indoor shoots, natural light is your best friend. Position yourself facing a large window so your face is illuminated softly and evenly. Absolutely avoid having the window behind you, as this will create a silhouette. Outdoors, take advantage of the “golden hour”—the hour after sunrise or before sunset—for warm, flattering light. Avoid midday sun, which creates harsh shadows.
4. Curate Your Background and Audio Environment
Your background is part of your story. A cluttered or distracting background will pull focus from your subject. Choose a setting that matches the mood of your video. Likewise, audio is just as important, if not more so, than the image. Poor quality sound will cause your audience to leave instantly. Choose a quiet location, away from traffic noise or wind. We’ll cover how to improve sound capture with external gear later.
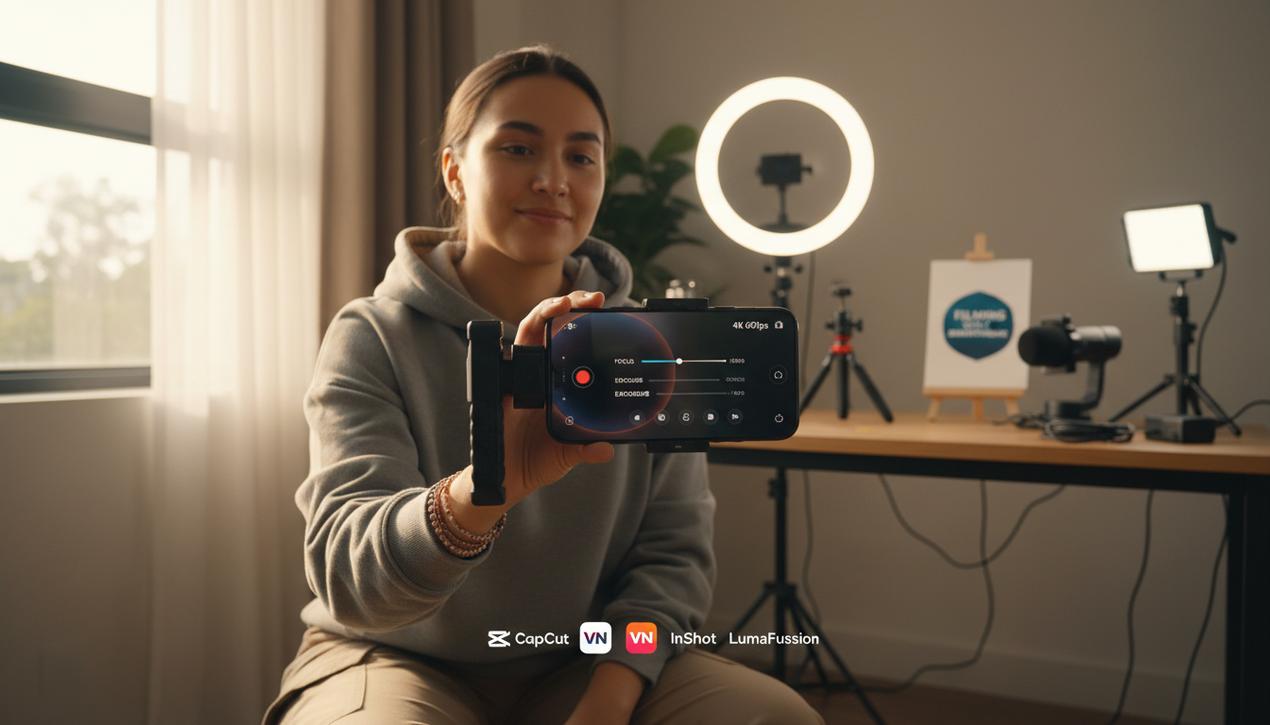
5. Prepare Your Smartphone for Filming
A few technical checks are necessary before you hit record:
- Clean the lens: This simple action changes everything. A fingerprint can make your image look blurry and dull.
- Free up storage space: Video files, especially in 4K, are very large. Ensure you have several gigabytes of free space.
- Charge the battery: Filming consumes a lot of power. Start with a 100% charged battery and have a power bank ready.
- Activate “Do Not Disturb” or “Airplane Mode”: Nothing is worse than a call or notification interrupting the perfect take.
Essential Gear to Elevate Your Quality
Your smartphone is the foundation, but a few inexpensive accessories can radically transform the quality of your productions. Investing in these three areas is the fastest way to achieve a professional look and feel.
Stabilization: The Enemy of Shaky Footage
Nothing screams “amateur” more than a shaky camera. Even the best built-in optical image stabilization on smartphones has its limits.
- Tripod: This is the essential accessory for any static shot (interviews, talking heads, product shots). A small, flexible tripod can be placed almost anywhere.
- Gimbal (Motorized Stabilizer): For smooth, cinematic moving shots, a gimbal is magic. It uses motors to counteract your movements, making the camera appear to float.
Audio: Be Heard Clearly
Your phone’s built-in microphone is designed for calls, not for quality audio recording. It picks up all ambient noise.
- Lavalier Microphone (“Lav Mic”): Ideal for interviews or on-camera presentations, it clips onto your clothing and isolates your voice from background noise. Wired versions are very affordable and reliable.
- Directional Microphone (“Shotgun Mic”): This mic mounts on your smartphone rig and primarily captures sound from the direction it’s pointed, rejecting noise from the sides. Perfect for vlogging or outdoor shooting.
Lighting: Sculpt Your Image
When natural light isn’t enough, supplemental lighting is necessary.
- Ring Light: Very popular for its soft, shadowless light, a ring light is ideal for beauty videos or any close-up shot of a person’s face.
- Portable LED Panels: More versatile, these small, battery-powered panels can be used to fill in shadows, act as a key light, or create colorful mood lighting.
Professional Filming Techniques
Gear isn’t everything. The way you frame your shots, move the camera, and adjust your settings has a major impact on the final result.
Master Your Camera’s Manual Settings
Don’t just use the default automatic mode. Download a manual camera app (like ProCamera or FiLMiC Pro) to gain control over:
- Focus: Lock the focus on your subject to prevent the camera from “hunting” or shifting focus mid-shot.
- Exposure: Lock the exposure to ensure the brightness doesn’t change unexpectedly during a take.
- Resolution and Frame Rate: Film in 4K whenever possible for more flexibility in post-production. A frame rate of 24 fps provides a cinematic look, while 30 fps is standard for most online content. Shooting at 60 or 120 fps allows you to create smooth slow-motion effects.
Compose Your Shot: The Rule of Thirds
Composition is the language of video. Enable the grid on your camera app. The rule of thirds suggests placing points of interest at the intersections of the grid lines, rather than directly in the center. This creates a more dynamic and visually appealing image. Also, leave “look space” or “lead room” in front of your subject in the direction they are looking or moving.
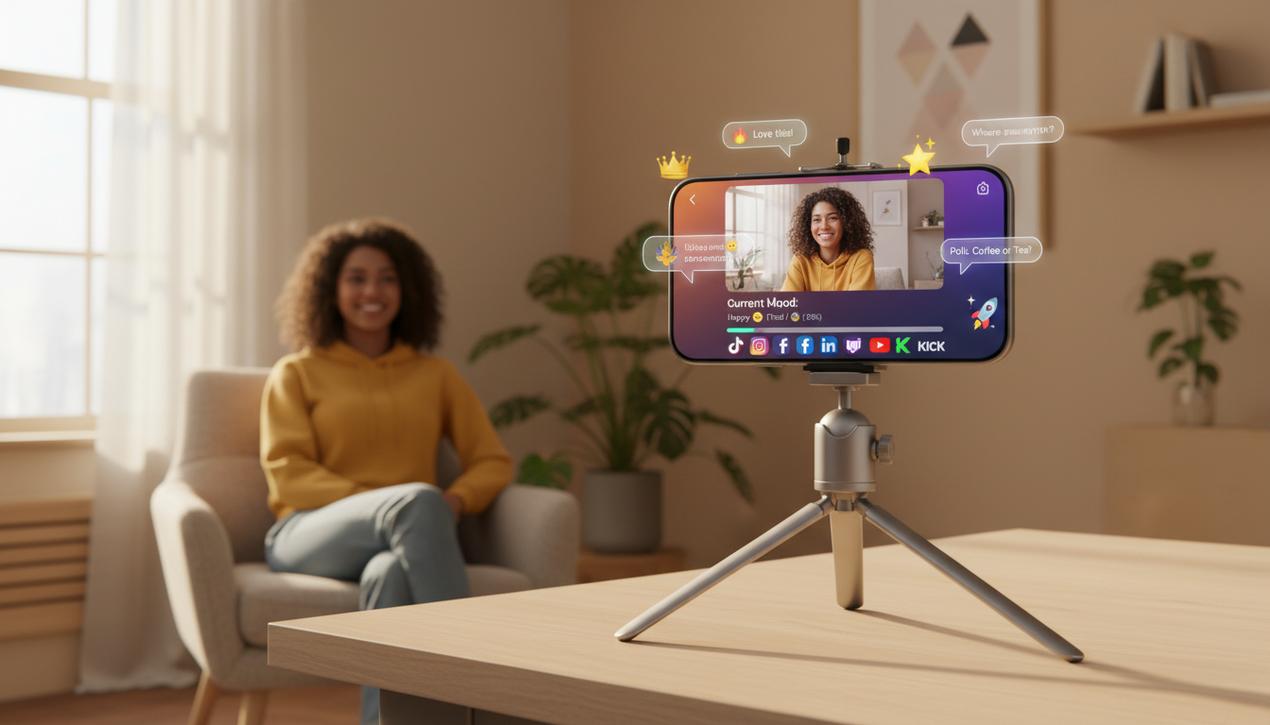
Orientation: Horizontal vs. Vertical
The choice depends entirely on the distribution platform.
- Horizontal Video (16:9): This is the standard format for YouTube, websites, and television. It is more immersive and natural for human vision.
- Vertical Video (9:16): This is the reigning format for Instagram Stories, Reels, TikTok, and YouTube Shorts. Once published, tracking performance requires the right free Instagram analytics tools. You must plan and shoot vertically for these platforms.
The Absolute Ban on Digital Zoom
The “zoom” on most smartphones is not a true optical zoom. It simply crops the image digitally, which massively degrades the quality and creates pixelation. If you want a tighter shot, physically move closer to your subject. This is a golden rule.
Post-Production: Where the Magic Happens
Shooting is only the first half of the process. Editing is where you assemble your raw footage (rushes) to tell a story, create a rhythm, and polish everything for a professional finish.
The Best Editing Apps on a Smartphone
You no longer need a powerful computer. Highly capable mobile apps allow you to do everything right on your phone:
- CapCut: The app from ByteDance (TikTok’s parent company) is free, incredibly feature-rich, and perfect for beginners. It offers auto-captions, trending effects, and an intuitive interface.
- VN Video Editor: Another excellent free option with no ads or watermarks. It offers a multi-track timeline and fairly advanced controls.
- InShot: Very popular for social media content, it is user-friendly and great for quickly resizing videos for different formats.
- LumaFusion: For those who want the most power on a mobile device (iOS/Android), LumaFusion is the go-to paid app. It rivals many desktop editing programs.
The Key Steps of Editing
A good edit generally follows this workflow:
- Logging/Selection: Watch all of your footage and select the best takes.
- Assembly Edit: Place your selected clips on the timeline in the order of your story.
- Pacing and Rhythm: Cut out long pauses, mistakes, and dead air. Adjust the length of each clip to create a dynamic pace.
- Adding Polish: Add titles, transitions (use them sparingly!), royalty-free music, and sound effects.
- Color Correction & Grading: Adjust the colors and brightness to ensure consistency and give your video a professional, stylized look.
You now have all the technical and methodological knowledge to make a video with a smartphone that truly stands out. Technology has lowered the barrier to entry, but creativity, preparation, and a mastery of the fundamentals remain the keys to success. Tapping into creativity methods to drive innovation can help you generate unique ideas. Don’t be afraid to experiment, make mistakes, and learn from them. Every video you create will be better than the last. So, charge your battery, clean your lens, and start telling your stories. The entire world is a potential audience, right in your pocket.
Find the best live stream apps for your mobile device in 2025. Our guide reviews the top 8 platforms, from Lire la suite

Ready to monetize your content? This guide shows you how to make money on TikTok with 12 proven strategies, from Lire la suite

Go beyond basic searches with our guide. Master over 15 advanced X search operators to refine your competitive intelligence, manage Lire la suite
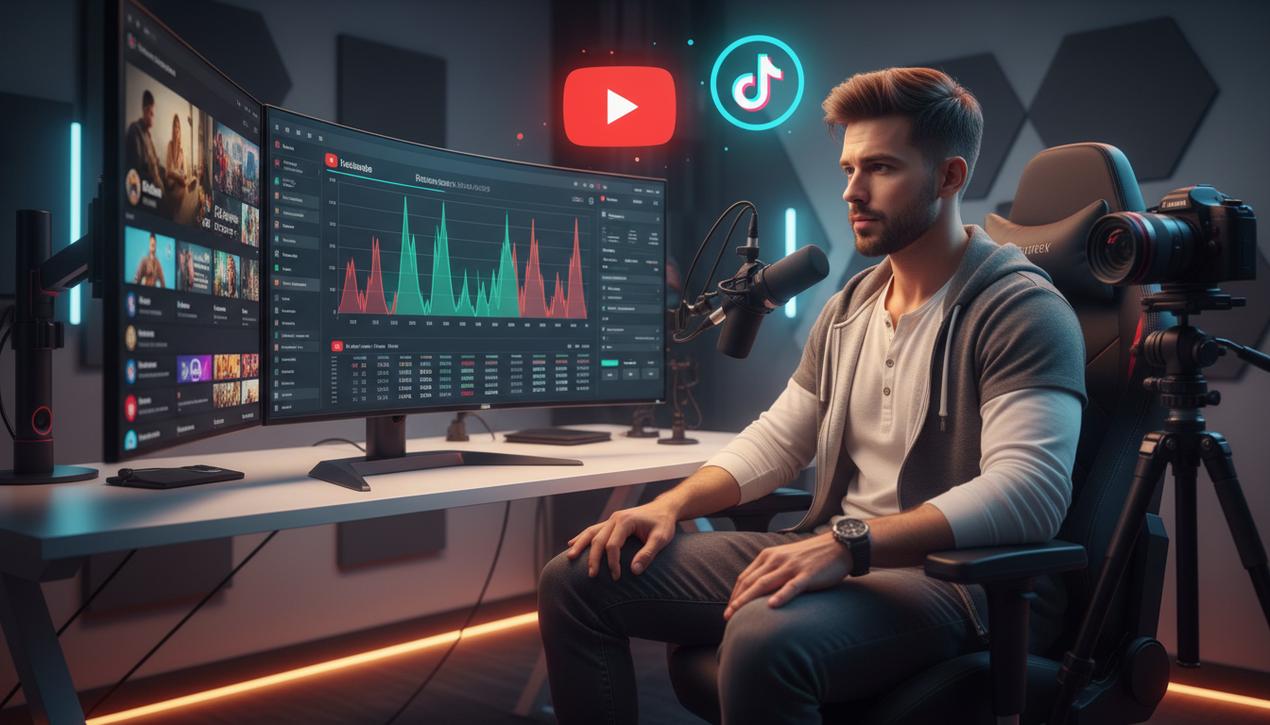
In the age of video-first content, YouTube and TikTok are no longer just entertainment platforms; they are vibrant ecosystems where Lire la suite